Category Archives: House 2.0

Downstairs Hall and Staircase – Stage 5

Finishing this downstairs hallway took forever because it had so many elements. We had to wait for electricians, carpenters, floor guys, drywallers and painters to each take their turn before we could swoop in.

We do most of our own painting, but the staircase was just too high stakes for us to take it on ourselves. We hired a professional painter to do the paint/stain combo on the staircase and to paint the wainscoting. It was totally worth it.

Here’s what it looked like after just that step:

001 007

The walls in the hall are uneven and are not in the greatest shape. It’s an old house; that’s not a surprise. I wanted to do something to mask those flaws, so I chose grasscloth to go above the wainscoting.

IMG_5468

I am kind of obsessed with grasscloth, but it can be overwhelming in a large room. The hallway was the perfect spot. My parents bought it for me for my birthday (you know you’re a grownup when you’re thrilled to get wallpaper as a gift) and my mom, who used to have a wallpaper business, also did all the labor.

The walls are very tall in the stair landing and grasscloth is heavy and tricky to put up all in one piece. My mom did an amazing job, and though she was highly satisfied with the results, I don’t think she’s dying to work with grasscloth again.

Here it is in process:

021 (2) 030

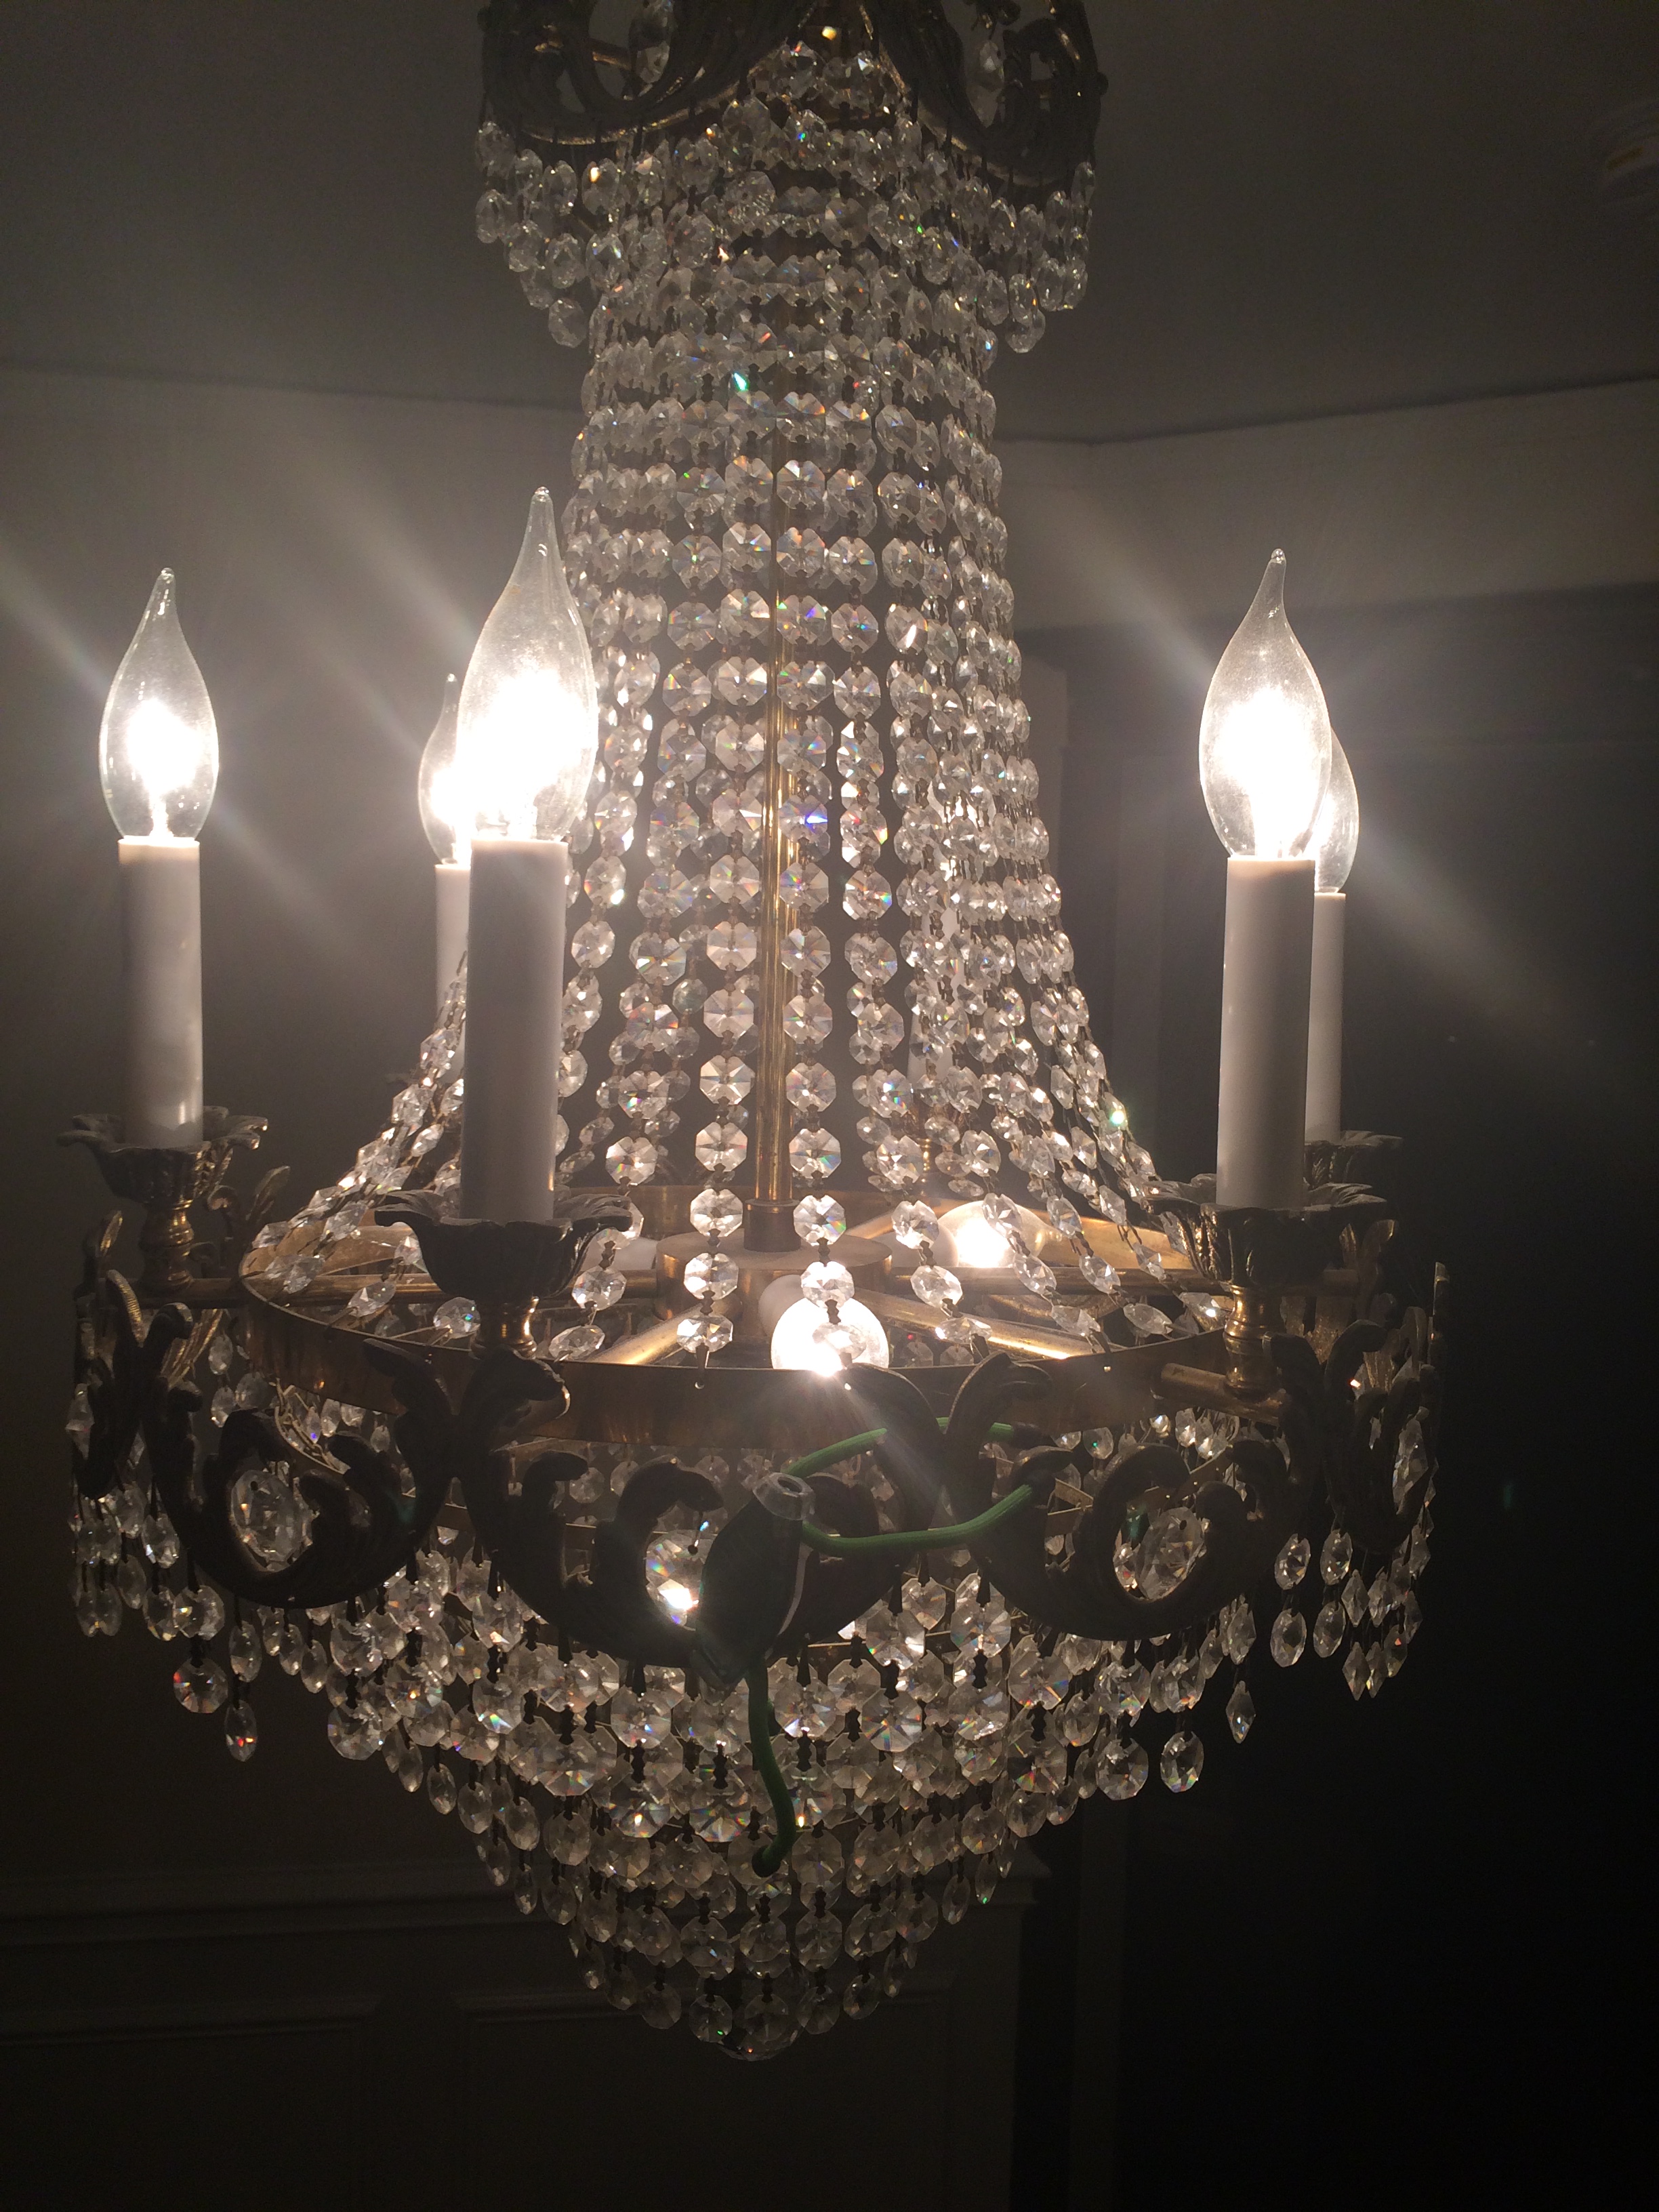
There’s the preview. Full reveal in the next post.

Downstairs Hall and Staircase – Stage 4

The two chandeliers in the house are original and really beautiful but were in desperate need of some TLC.  There’s one in the hallway, and one in the dining room (which I have not posted about yet, but will include a pic here.)

They were covered in drywall dust from the wall patching, and they had lost many crystals over the years. I wish I had taken before pictures, but this was all going on in the midst of the staircase drama, and I forgot. Oh well.

Here are close up shots. You will note that my oldest son stuck a “bug light” into the chandelier. I didn’t remove it because hey, this is our life. Bug lights in our finery. Anyway, here’s the hall chandelier, restored:

464 (2)

465 (2)

Dining room chandelier:

278Andy excels at projects that require patience and persnicketiness, so this was all him. (I possess neither of those qualities, so I stayed out of it. Impatiently.) Electricians removed the chandeliers from the ceiling, and we placed each in its own box to keep the crystals separate. Then he thoroughly cleaned them with 10 percent vinegar solution, which significantly brightened them up.

Next he tracked the pattern (the number of crystals per row) to determine how many were missing. A little less than half of the crystals were missing overall — the pattern had been altered over the years, and each had been cannibalized to fill in missing pieces for the other. Andy ordered replacement crystals online  and bought matching hardware to connect them. The problem was that the new hardware looked really brassy and new, while the old hardware had an aged patina. To get them to match, Andy exposed the new hardware to alternating solutions of ammonia and vinegar until it was appropriately aged. There was no science to this — just trial and error.

Andy was painstakingly hanging the new crystals onto the chandeliers in the basement while the flooring guys were doing the patch job at the bottom of the stairs. He was doing so while wearing his painting clothes, which a common hobo would reject as too sloppy.

The floor guys finished and said, “Can you tell the boss not to walk on it for a few hours?” Andy says sure. (In this scenario, the boss is me, not Angela Bower. Or Mona. And certainly not Tony.) Anyway, there were a few more instructions where the guy referred to “the boss” and started asking Andy questions about the chandelier. Finally it became clear that the guy thought Andy was a chandelier repairman. So Andy says, “Oh, no…I live here. I know the boss. I’m married to the boss.” And the guy goes, “Oh! That explains it. I was wondering how you make a living on chandeliers.”

You don’t. You just live that dream on the side.

Downstairs Hall and Staircase – Stage 3

Quick bonus post: Part of the staircase renovation necessitated remodeling the hall closet a bit.

Here’s what it looked like originally:

IMG_5315

The closet had this little opening on the left that led to extra storage under the stairs. The Harry Potter area, if you will. Should my sister ever be murdered by an evil wizard, I know just where to keep her children. We would never have bothered to change any of this, but it all had to be torn out to accommodate the new stairs, and there was no compelling reason to re-create this weird tiny opening.

Instead we opened it all up and now we have this huge area under the stairs that we can access for extra storage. It was very handy for Christmas gifts, and there’s still plenty of room for boy wizards.

041

042

And as a bonus, the carpenter uncovered the original coat hooks that we polished up and restored to their rightful home.

010 (5)

 Very scarab-esque.

Downstairs Hall and Staircase – Stage 2

The staircase was built by an expert carpenter who did a truly amazing job. Every other tradesman we’ve ever had in the house has commented on the craftsmanship of the stairs.

Here’s all the elements, waiting to go in:

091 (2)

Working his way down from the top of the stairs:

092 (2)

Next steps (quite literally):

093 (2)

095 (2)

And then the bannister and post were added. (We stayed true to the original post design, but chose a different variety of spindle to add some more dimension.) Here’s my oldest kid, photobombing:

097 (2)

And here, in hat-haired glory.

103 (2)

Once we got to this point, we decided to add wainscoting as well. Maybe we were just drunk with relief from having a functional staircase. Plus, once you’ve already dropped a ton of money on an unexpected, soul-killing project, you want to get yourself a little somethin’ special. Here’s that element layered in.

477

476

479

Once everything was built (which took about seven weeks from ordering the parts to installation), it was time to paint and decorate.


Downstairs Hall and Staircase – Stage 1

The house was built in 1913 using the carpentry techniques available at the time (duh). This did not, as it turns out, include glue. So each stair was held up by supporting wood pieces that stretched from the edges of each tread down to the floor. This is an elegant system when the fit is perfect, which it probably was 103 years ago. That support had eroded over the intervening years, which worsened as the house settled. When we shone a flashlight under the stairs, we saw that most of those supporting pieces were just laying on the ground. The stairs were sagging, tilting and pulling away from the wall. Long past the point where a repair could save the staircase. This was a huge drag because it was an unexpected expense, but after whining and sighing to each other for a while, we sucked it up and moved forward with replacing the staircase altogether.

We started by taking out the bottom two stairs so that we could have the flooring patched and altered to support the new setup.

055

IMG_5307

We had to use this step ladder to get up and down the stairs for a while. Fortunately we hadn’t moved into the house yet.

Then the whole shebang was ripped out.

090 (2)

392

Here it is, all gone. The flooring in the back is from the closet.391

View to the upstairs

089 (2)

Crazy, right? It was a shocking sight to behold. It looked so stark and bare. Luckily it wasn’t like this for long.


Downstairs Hall and Staircase – Original

We knew the staircase had a few problems when we bought the house. We did not realize it would turn out to be an unrelenting quagmire that would stall all of our progress for months while sucking both our money AND our will to live.

Here’s what it looked like to begin with–

The view of the staircase and radiator cover (covered in construction dust, but you get the idea):

IMG_8898

View of the stairs, radiator, door and closet:

IMG_8900

View of the stairs and door into the kitchen:

IMG_8899

View up the stairs:

IMG_5308

Additional original stair view:

005 (2)

Original post which is cool, but turned out to be broken (see the top) as well as hollow. Wah wuh.

IMG_5123 2


Basement Playroom – Final

The basement playroom ended up being a huge transformation if only because covering the tile made the room look entirely different. Here’s the final reveal.

Before:

367

After:

037

The art on the back wall here includes a color wheel wreath from Land of Nod, a weird print of an animal on a bicycle from IKEA, and a sasquatch drawn by my brother-in-law. We also added the overhead fan. (I was told not to move the train track on the floor in the right corner of this photo because it was a “masterpiece.” I don’t like to stand in the way of art.)

Before:

369

After:

038 (2)

We covered the ledge with Kallax storage shelves from Ikea, which turned this entire wasted wall into useful storage. We can come up with a different solution when the kids are older, but for now it prevents them from jumping to their doom every day. We used black shelves instead of white solely because we already had two black ones, and it was not worth the money to buy four new shelves just for the sake of color. Also, my boys treat furniture the way wild apes might if they encountered laminate pressboard in their native environment, so there’s no point in dropping dollars on furniture. (To wit: The couch down here was inherited from my parents for the low, low cost of free.)

Before:

372

After:

017

Before:

368 559

After:

039 (2)

The cork board in the art corner here was a project we completed for the kitchen in our old house, and we moved it to the play room to display the kid’s work. Full instructions can be found here.

Before:

558

After:

040

The print next to the door is from ArtStar, which is a great Web site that promotes affordable, collectible art.

400-raw-morrison-fisher_price_4_large

The Little Collector portion of the site is entirely devoted to kid art, including this portrait of Fisher Price Little People. Every adult who walks into the room asks about it. Some find it hilarious; others find it to be “dead-eyed.” I love it.

The other piece of art that I really love in the room is hard to see in the shots because the frame is so reflective, but it’s the patent drawings of Lego minifigures. Available from Patent Prints and Eye Catching Patents.

il_570xN.772988328_kgaw[1]

007


Basement Playroom – Stage 3

The ceramic floor tile made the room feel cold and unwelcoming. Unfortunately, it also wrapped up along the wall to act as a baseboard, so it would have been unnecessarily complicated to rip it all out. (Guess how I know–Andy removed one of the baseboard tiles and it took half the drywall with it. Plan aborted.) Our solution was to add traditional baseboard on top of the tile along the wall, and to use FLOR carpet tiles on the floor.

I found this pattern (Fall in Line-Jade) of FLOR tiles on sale (marked down from $13 per tile to $8.49 per tile), so I got a good deal. (Also check the outlet page.) The wall colors were inspired by the stripes in the FLOR tiles.

21-1309-02-2-2

I love carpet tiles for a kid’s room not only for the pattern and color, but also for practical reasons–when the kids inevitably spill, we can replace the affected squares rather than scrapping the whole carpet or living with gross stains.(Be sure to buy more tiles than you need for just this purpose. We have an extra box in reserve.) As an added bonus, FLOR is an eco-friendly company–more than 50 percent of the materials in the carpet are made from recyclables.

The carpet tiles come with instructions on how to place them so I won’t belabor it here, but essentially you need to start in the middle and work your way to the walls, so that you’re making cuts along the walls and not in the middle. Because this room was a large rectangle, Andy worked his way in a cross pattern, like so.

148 (2) 149 (2)

You can see the improved baseboards in this shot, as well as the cuts that still need to be made along the walls.

151 (2)

And here it is with the cuts complete. For some reason, it did not occur to me to move all of this crap out of the way before taking the photo. Realism.596


Basement Playroom – Stage 2

While the wainscoting work was going on, we also painted the basement walls blue and green. It’s a kid’s playroom so we had license to go a little bananas with color.  Nobody is inspired to play Halloween dinosaur ghost* in a beige room.

*actual game played by my children at least once a week.

556

558

The north and south walls are Meridian Blue by Benjamin Moore.

559

The west wall is painted with Shades of Spring, with yellow Banan-Appeal in the window wells to reflect the minimal light that comes in.

Just a note here because I don’t think I’ve mentioned it elsewhere–we used Benjamin Moore Natura throughout the entire house because I insisted on using zero-VOC paint. It’s odorless and there’s no subsequent off-gassing so it’s much healthier for your indoor environment–especially important for rooms where kids are going to spend a lot of time. We used low-VOC paint in the past that was a gummy nightmare to apply. Not so with Natura–it goes on like a dream. There’s my pitch. Use it.

557

We left the east wall white so that we could decorate it with a stencil. We found a circle stencil pattern and used the wall colors from the other three walls. Here’s how it turned out:

499

The problem, of course, is that it looked incredibly stupid. Wah-wuh. So we scrapped that idea and my mom and I scoured wallpaper books looking for a pattern to complement the already painted walls. (Nothing like designing backwards.) We found this one:

562

It’s supposed to be hung vertically but my mom had the idea to run it horizontally along the wall.

Here’s the result:

561

Good save.

Basement Playroom – Stage 1

We weren’t sure what to do with the bench seating along the left side of the room. It probably worked well for resting between billiard shots, but it was a waste of space for our purposes. Also, the kids kept walking along the top and launching themselves onto the tile floor. We’re not made of ER co-pays, so we had to cover the ledge–at least until our kids outgrow their positions as President and C.E.O. of Bad Decisions, Incorporated. (They will, right?)

So as a refresher, here is the original look. (And no, that’s not the ghost on the right. This isn’t Three Men and a Baby. It’s just Andy’s shadow.)

370

The first thing Andy did was gleefully rip out that weird brown carpeting on top of the ledge. The right portion of the seating opened into a deep storage cabinet, revealing a complete human skeleton. No, just kidding. It only contained a retro boom box that had probably been sitting there untouched since the addition was completed in 1988. We had a quick Billy Ocean dance party and then added it to the donation pile. (The boom box, not Billy Ocean. He’s a timeless treasure.)

Andy replaced the top of the ledge with new plywood to keep the surface even. Then we had to figure out what to do about the tile that was everywhere in the room. All those grout lines had kind of a TRON effect. It would have been really expensive and a huge mess to replace them, not to mention that every time we remove something, we uncover four more problems. (I think that was Jay-Z‘s original lyric —  “I’ve got one problem and then I find four more” but it didn’t rhyme so he scrapped it. He was so frustrated that eventually he had 99 problems and history was made. That’s a true story I just made up.)

Our solution was to cover the tile along the ledge with white wainscoting. We painted the wainscoting sheets before they were applied to the wall, and then Andy attached them to the tile with a combination of glue and liquid nails. Here it is in progress:

124 (2)

555

The tile already looks less overwhelming just with this portion covered.