Category Archives: Hallway

Upstairs Hallway – Final

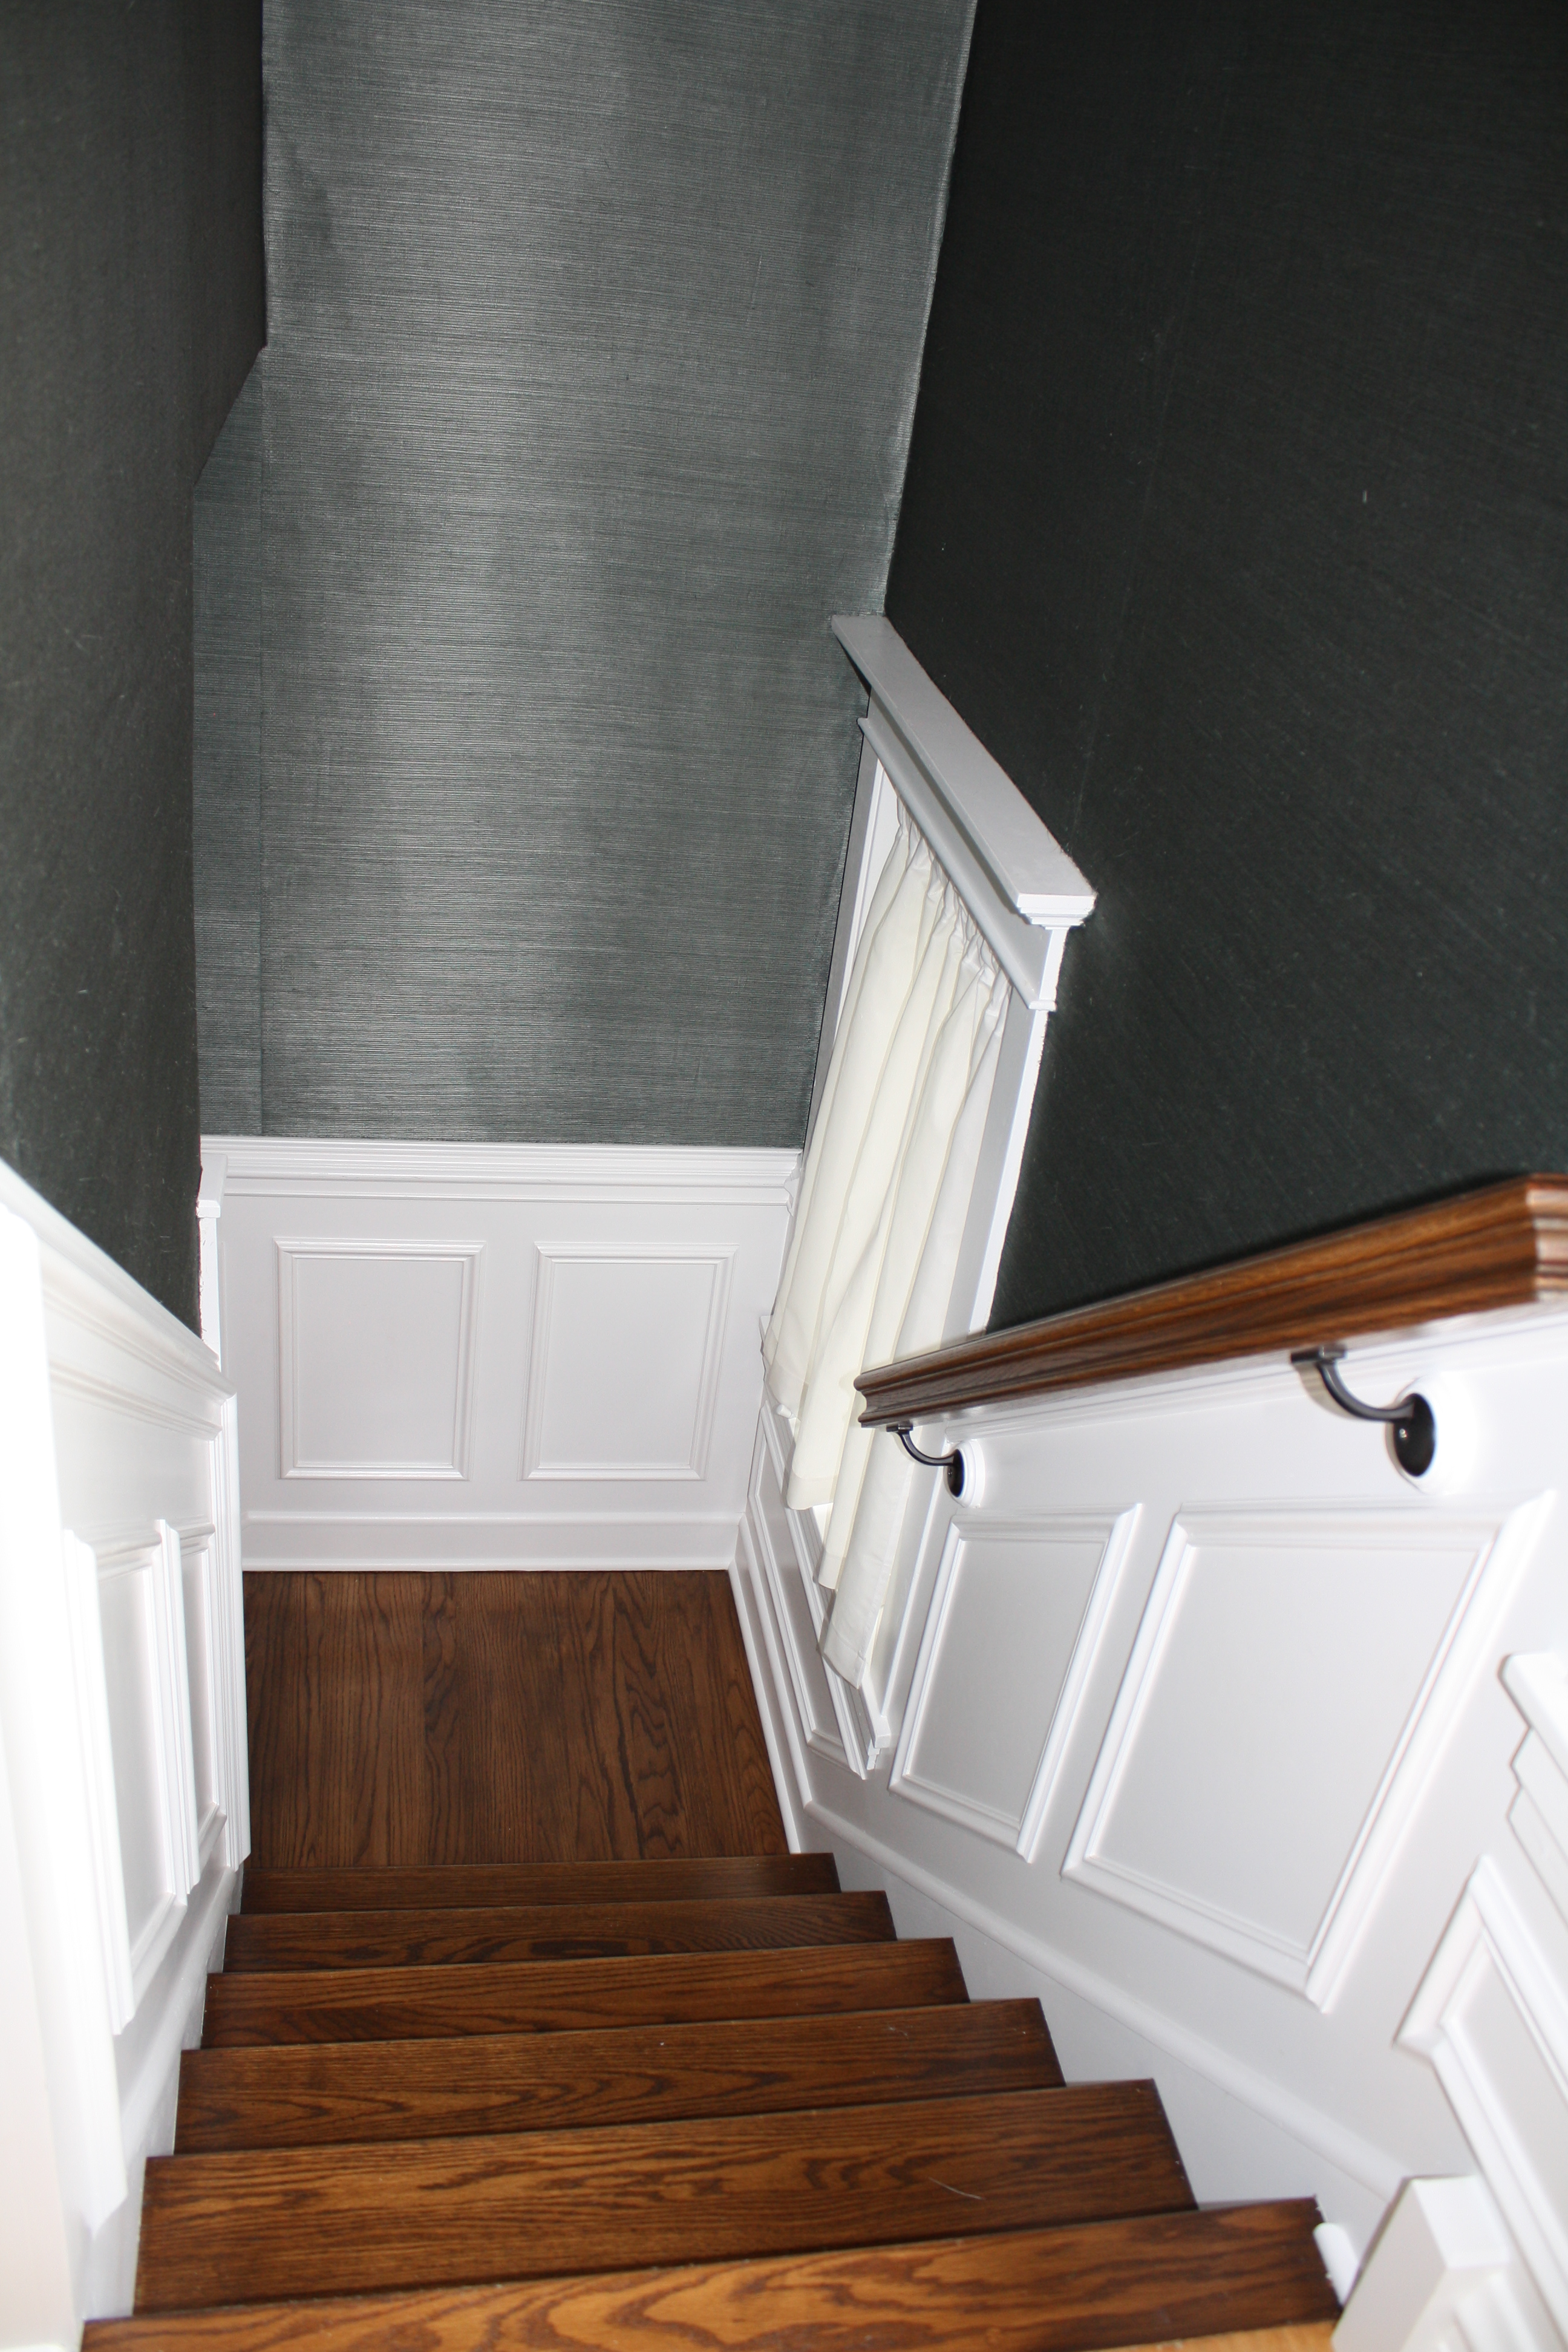
The last thing we had to do was to choose a paint color that flowed with the grass cloth that we used along the stairway and downstairs hall. Below is a photo of the three samples. Our oldest son said the one on the right “looked the most like diarrhea” — so that was a definitive no. We chose the blue in the middle, which I think it’s fair to say looks the least like diarrhea. So there.

So here are all the pieces put together.

Before:

After:

Before:

After:

View down the hall from another angle


Upstairs Hallway – Stage 4

The upstairs hall had one light fixture that was oversized, brassy, and definitely not original to the house. So we had an electrician add two more hall lights and now we have three fixtures — two smaller flush mounts, and one chandelier in the center of the hall.

I decided to go with crystalline lights because they were the closest to the original chandeliers downstairs.

Flush mounts:

They look great when illuminated but sometimes I worry that they’re too small when they lights are off. I may at some point add a medallion, but I don’t feel motivated to do anything about it right now. It’s fine.

Hall chandelier:

Upstairs Hallway – Stage 3

One of the easiest changes was simply brightening up the hardware throughout the upstairs. The brass knobs and pulls were original and quite tarnished.

Here’s a before shot of the closet doorknob (left)

We went at everything with Brasso and paper towel. (Wear gloves.)

Here’s a knob all covered in Brasso

And here’s the final result of the knob in my son’s room. Even though they aren’t perfect, they have character and are much brighter than before.

One of my favorite features is the hall laundry chute. I love it, and so do the kids. It’s the one chore I can actually get them to do without argument. Sure, stuffed animals, toy trains, and the occasional dinosaur take rides to the basement alongside the clothes, but whatever.

The only problem was that the chute had lost its hinge, so every time it was opened, the knob slammed into the wall. It had formed a permanent hole. Andy added a piano hinge, patched the hole, and now it’s good as new.

Upstairs Hallway – Stage 2

The upstairs hall closet backs up to our attic stairs, which made the closet mostly unusable.

Here is the before:

Gross, right? We just had it drywalled and added a shelf and now it’s a functional closet. I didn’t expect this photo to give such an intimate view of lady razors and Afrin, but now you know our shameful secrets — we have leg hair and stuffy noses.

Upstairs Hallway – Stage 1

One of the first things we did was restore the original linen cabinet.  When we were emptying out the top drawer, we found all kinds of old notes, including a very strongly worded draft of a letter from a mother to her daughter’s Scout troop, dated 1963. And, let me tell you, she did NOT care for their behavior at the most recent meeting and she laid out a perfect, guilt-inducing case against them. Based on the content of the odds and ends we found, this cabinet must have housed the upstairs phone at some point. (Barb was owed a call sometime around the Bicentennial.)

So here’s the original shot of what we inherited:

Step one was a good cleaning, followed by lining the drawers.

Step two was hiring a carpenter to build properly-fitting doors. My mom makes stained glass and had created panes years ago for the kitchen cabinets of my childhood home. My parents removed them before putting their house on the market, so I decided to incorporate them here both for the sake of my own personal nostalgia and because a glass door was a better look than a solid door. Stained glass in general, and this design in particular, also fit with the era and style of our house.

The next issue was trying to match the stain, which took my husband a frustrating weekend of experimentation. He did sample after sample after sample and finally found the right one with a reddish tint. It isn’t exact, but it’s close enough that it works.

Here’s the final look, with glass pulls and a painted hall.


Upstairs Hallway – Original

After the complete makeover of the downstairs hall and staircase, the upstairs hall was a simple (and much cheaper) undertaking.

Here are the before shots:

View toward the stairs. Door on the right is a bedroom; door on the left is the attic.

As you can see in these shots, the upstairs floor is maple rather than oak, which everyone has told us is very unusual on a second floor. Our carpenter said that this layer of flooring is on top of another layer below. The house has a bump-out addition that encompasses part of our son’s room and the dining room below that we have dated approximately to the 1930s, so maybe they took that opportunity to add a new floor. Maple really can’t be stained dark the way oak can, but I don’t mind the blonde effect, particularly in bedrooms.

Here’s a view toward the third bedroom and bath (on the right). At some point the previous owners added a hall bath, so we have more angles in our house than a typical Four Square. We’re grateful for the bathroom, so no judgments here.

The built-in linen cabinet and view toward the master (closed door).

At some point, there were doors above here (you can see the hinge marks) but they are long gone.

Downstairs Hall and Staircase – Final

The downstairs hall and staircase took almost a year of stops and starts to fully complete, but now it’s one of the most striking areas of the house. Whenever we’re feeling discouraged about our progress elsewhere, we just stand in the foyer and bask in its glory.

Here are the before and after shots.

Before:

IMG_8898

During:

090 (2)

097 (2)

After:

041 (3)

The finishing touches were the radiator cover (which Andy painted the same white as the wainscoting), and a mirror that used to hang in my Grandma’s house.

Before shot up the stairs:

IMG_5308

During:

392

After:

IMG_9066

Before view from the landing down the stairs :

021

After view down the stairs:

IMG_9064

Before view looking down from the second floor to the landing:

IMG_8893

After:

IMG_9063

Original view toward the door:

IMG_8900

During:

006

Final view:

042 (2)

Before view toward the kitchen:

IMG_8899 IMG_5295

During:

055

After:

041 (2)

We removed the door that was here because it was unnecessary and in the way. We’ll save it to reuse it when we renovate the kitchen area.

So there it is! The completed entryway. For the huge pain and expense it turned out to be, at least it’s in a spot where everyone sees it. Just don’t think you’re getting out of there without hearing all about it.


Downstairs Hall and Staircase – Stage 5

Finishing this downstairs hallway took forever because it had so many elements. We had to wait for electricians, carpenters, floor guys, drywallers and painters to each take their turn before we could swoop in.

We do most of our own painting, but the staircase was just too high stakes for us to take it on ourselves. We hired a professional painter to do the paint/stain combo on the staircase and to paint the wainscoting. It was totally worth it.

Here’s what it looked like after just that step:

001 007

The walls in the hall are uneven and are not in the greatest shape. It’s an old house; that’s not a surprise. I wanted to do something to mask those flaws, so I chose grasscloth to go above the wainscoting.

IMG_5468

I am kind of obsessed with grasscloth, but it can be overwhelming in a large room. The hallway was the perfect spot. My parents bought it for me for my birthday (you know you’re a grownup when you’re thrilled to get wallpaper as a gift) and my mom, who used to have a wallpaper business, also did all the labor.

The walls are very tall in the stair landing and grasscloth is heavy and tricky to put up all in one piece. My mom did an amazing job, and though she was highly satisfied with the results, I don’t think she’s dying to work with grasscloth again.

Here it is in process:

021 (2) 030

There’s the preview. Full reveal in the next post.

Downstairs Hall and Staircase – Stage 4

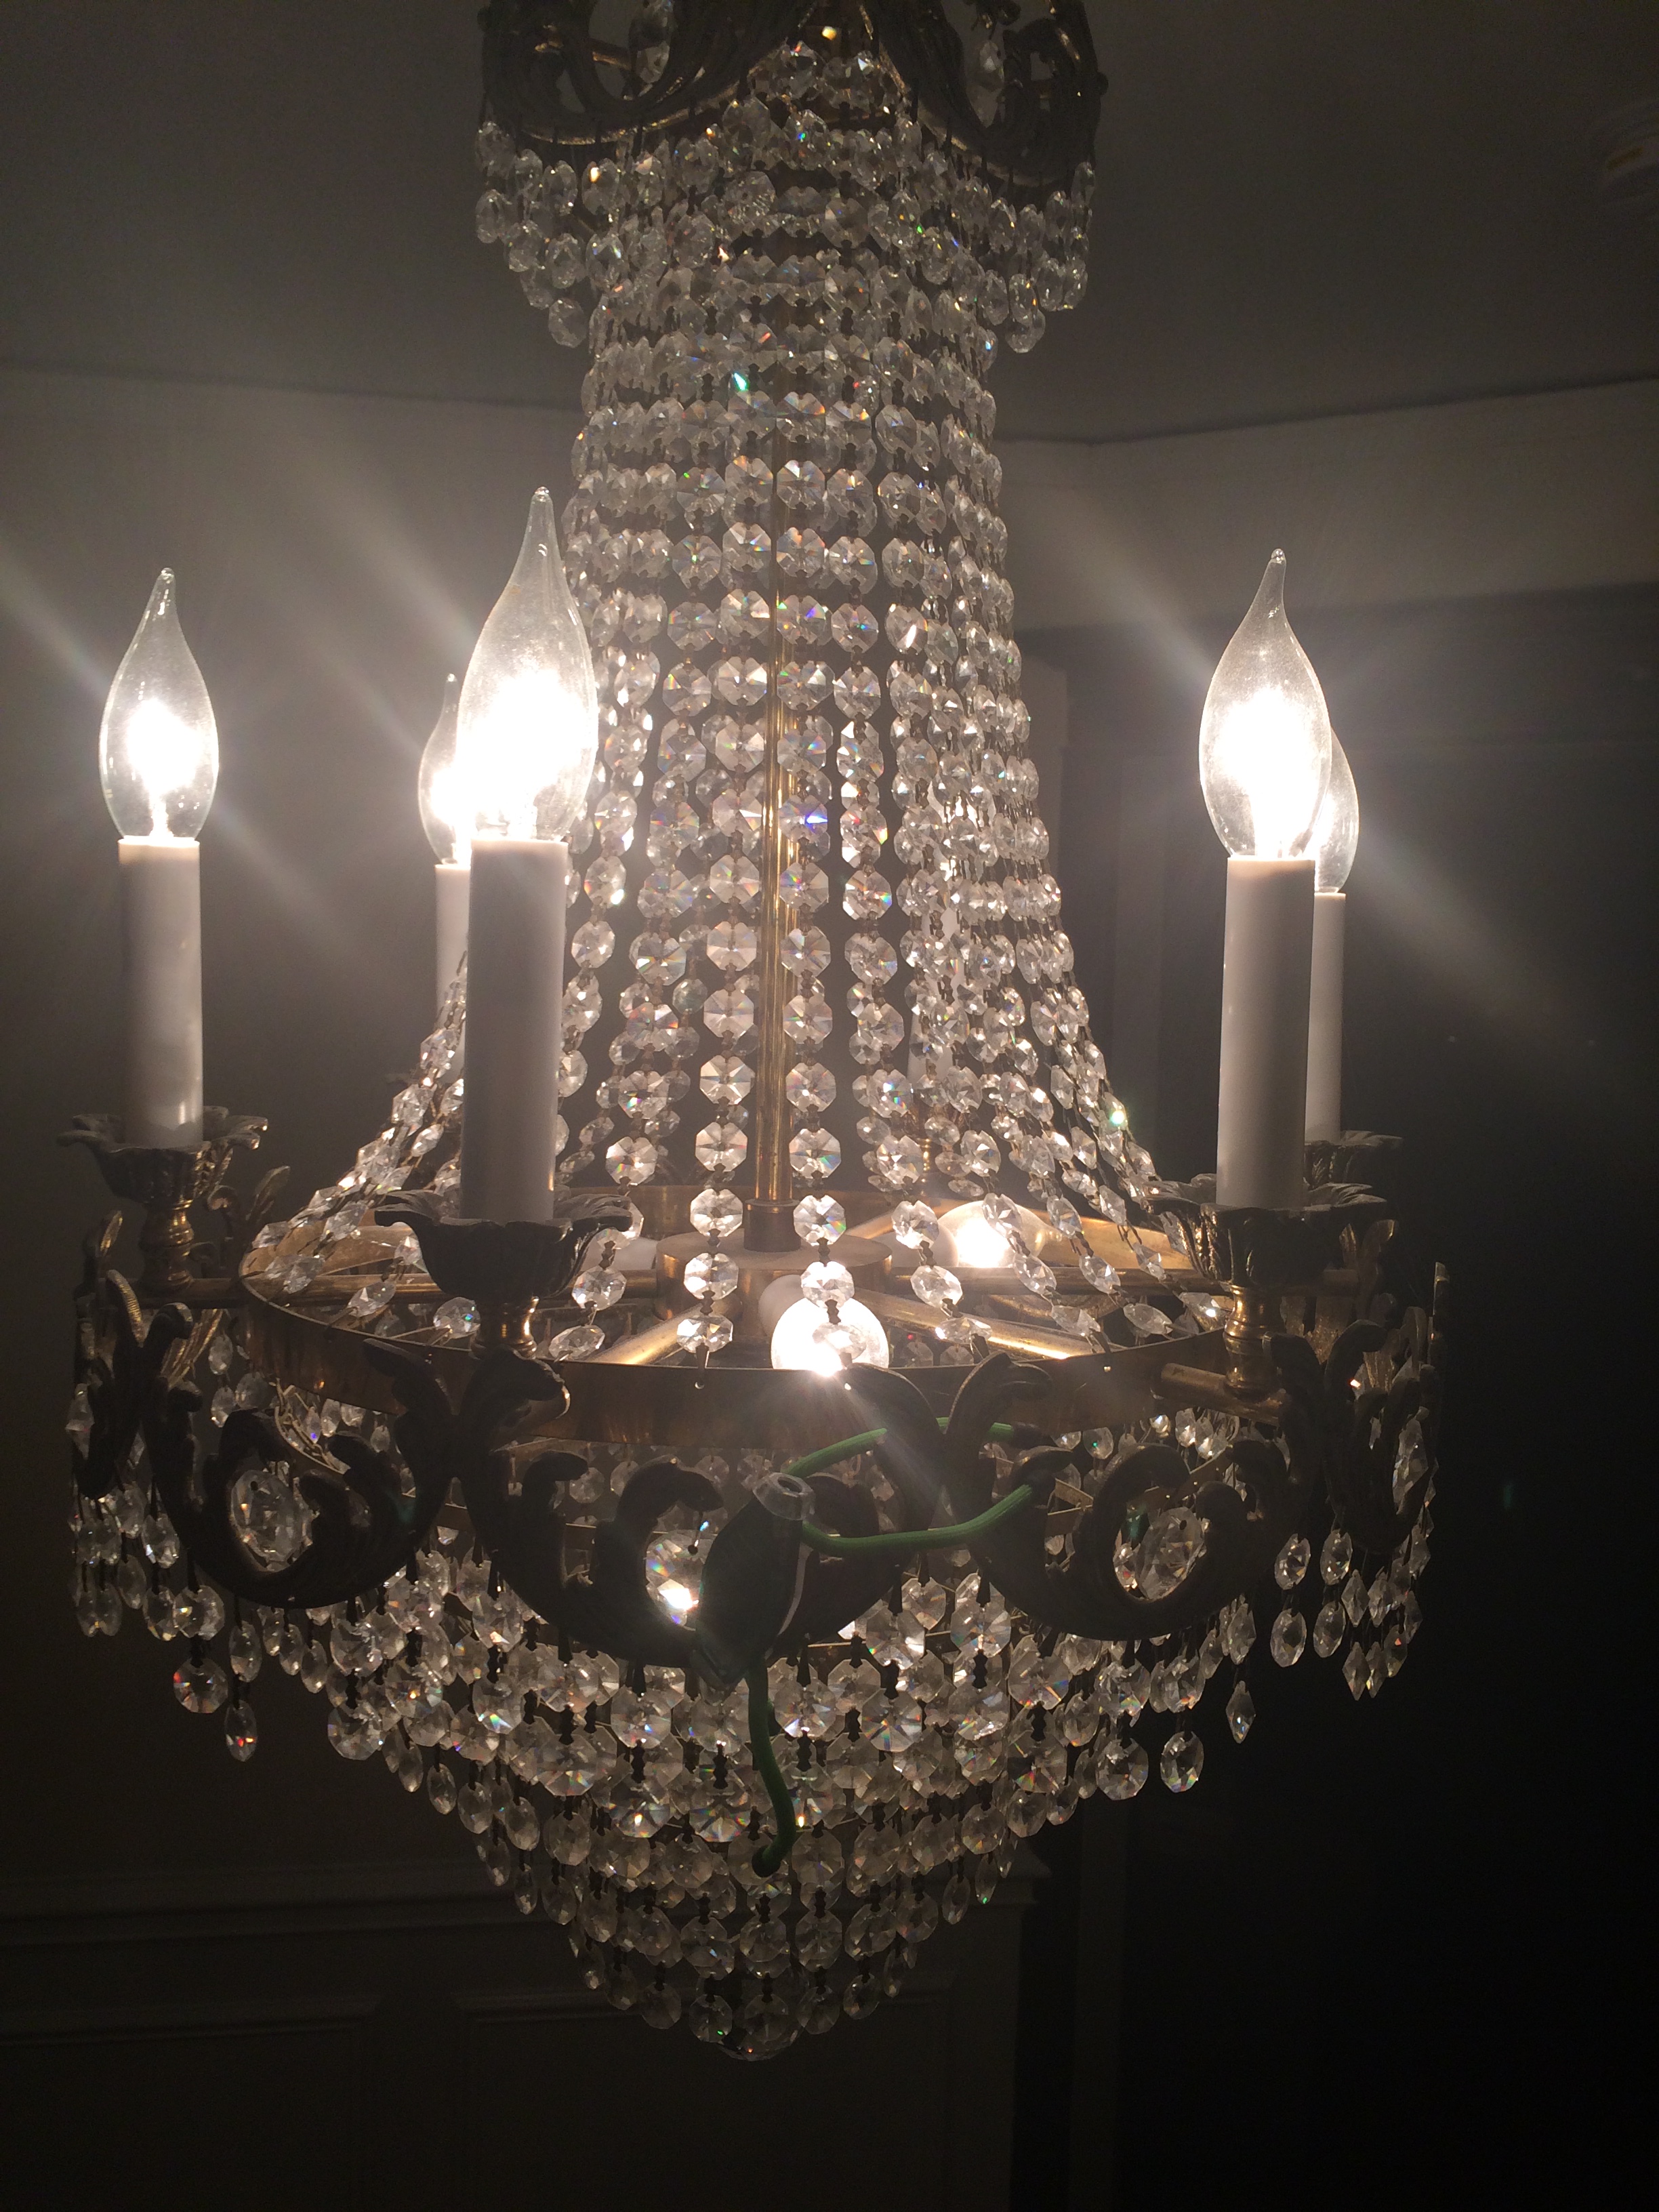
The two chandeliers in the house are original and really beautiful but were in desperate need of some TLC.  There’s one in the hallway, and one in the dining room (which I have not posted about yet, but will include a pic here.)

They were covered in drywall dust from the wall patching, and they had lost many crystals over the years. I wish I had taken before pictures, but this was all going on in the midst of the staircase drama, and I forgot. Oh well.

Here are close up shots. You will note that my oldest son stuck a “bug light” into the chandelier. I didn’t remove it because hey, this is our life. Bug lights in our finery. Anyway, here’s the hall chandelier, restored:
464 (2)

465 (2)

Dining room chandelier:

278Andy excels at projects that require patience and persnicketiness, so this was all him. (I possess neither of those qualities, so I stayed out of it. Impatiently.) Electricians removed the chandeliers from the ceiling, and we placed each in its own box to keep the crystals separate. Then he thoroughly cleaned them with 10 percent vinegar solution, which significantly brightened them up.

Next he tracked the pattern (the number of crystals per row) to determine how many were missing. A little less than half of the crystals were missing overall — the pattern had been altered over the years, and each had been cannibalized to fill in missing pieces for the other. Andy ordered replacement crystals online  and bought matching hardware to connect them. The problem was that the new hardware looked really brassy and new, while the old hardware had an aged patina. To get them to match, Andy exposed the new hardware to alternating solutions of ammonia and vinegar until it was appropriately aged. There was no science to this — just trial and error.

Andy was painstakingly hanging the new crystals onto the chandeliers in the basement while the flooring guys were doing the patch job at the bottom of the stairs. He was doing so while wearing his painting clothes, which a common hobo would reject as too sloppy.

The floor guys finished and said, “Can you tell the boss not to walk on it for a few hours?” Andy says sure. (In this scenario, the boss is me, not Angela Bower. Or Mona. And certainly not Tony.) Anyway, there were a few more instructions where the guy referred to “the boss” and started asking Andy questions about the chandelier. Finally it became clear that the guy thought Andy was a chandelier repairman. So Andy says, “Oh, no…I live here. I know the boss. I’m married to the boss.” And the guy goes, “Oh! That explains it. I was wondering how you make a living on chandeliers.”

You don’t. You just live that dream on the side.

Downstairs Hall and Staircase – Stage 3

Quick bonus post: Part of the staircase renovation necessitated remodeling the hall closet a bit.

Here’s what it looked like originally:

IMG_5315

The closet had this little opening on the left that led to extra storage under the stairs. The Harry Potter area, if you will. Should my sister ever be murdered by an evil wizard, I know just where to keep her children. We would never have bothered to change any of this, but it all had to be torn out to accommodate the new stairs, and there was no compelling reason to re-create this weird tiny opening.

Instead we opened it all up and now we have this huge area under the stairs that we can access for extra storage. It was very handy for Christmas gifts, and there’s still plenty of room for boy wizards.

041

042

And as a bonus, the carpenter uncovered the original coat hooks that we polished up and restored to their rightful home.

010 (5)

 Very scarab-esque.