So the first thing we had to do throughout the entire house was update the wiring, which included massive tear-outs of the plaster. It was a huge mess, and we hired electricians. (Electrical work is like a siren song to Andy — he can’t resist it, and it always ends badly. So our new agreement is that we hire professionals for all electrical work. Unless he wants to up his life insurance, in which case, I’m open to it.) We also had the electricians add overhead lights to the bedrooms while they were at it.
Then we had to figure out what to do about the setup of the radiators. (Pictured below).
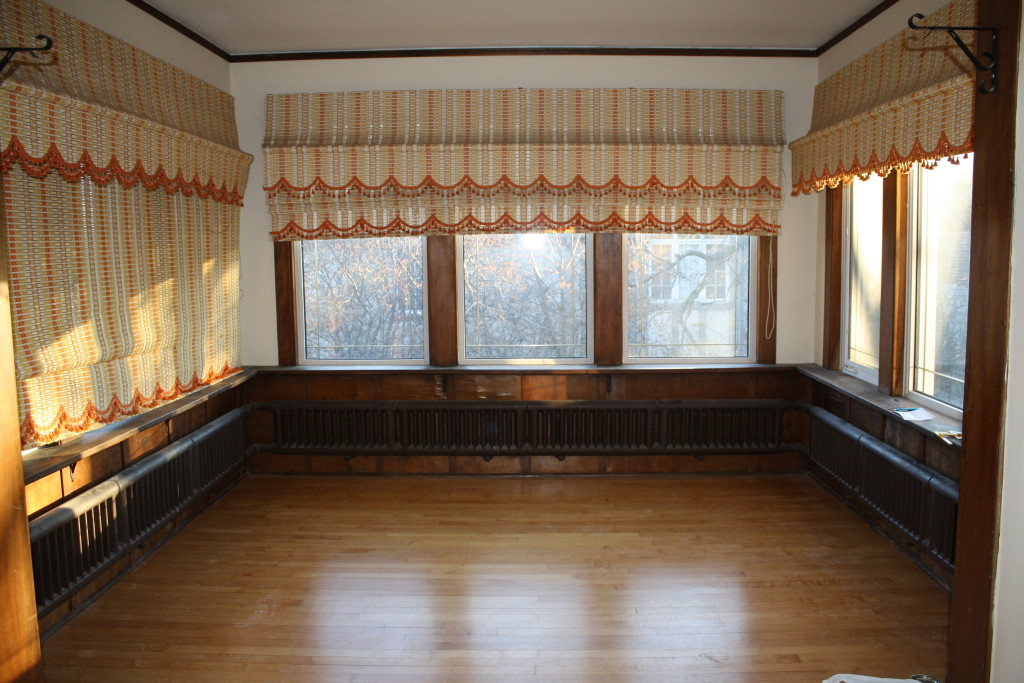

The wood was somewhat warped, and we didn’t want to leave the radiators exposed anyway because our sons don’t have any sense and would happily touch blazing sources of heat with their bare hands. Repeatedly. Andy decided to build his own radiator cover, which also meant that the only feasible thing to do was paint the woodwork.
A word about that before we proceed, because I know people get really uppity about painted wood. Here’s the thing: We couldn’t match the existing wood or stain to the radiator frame. Portions of the woodwork in the room had been pieced in over the years and were comprised of different stains and varieties of wood. And white trim just looks really good. Our compromise was to leave the doors in their natural wood state, but to paint the trim.
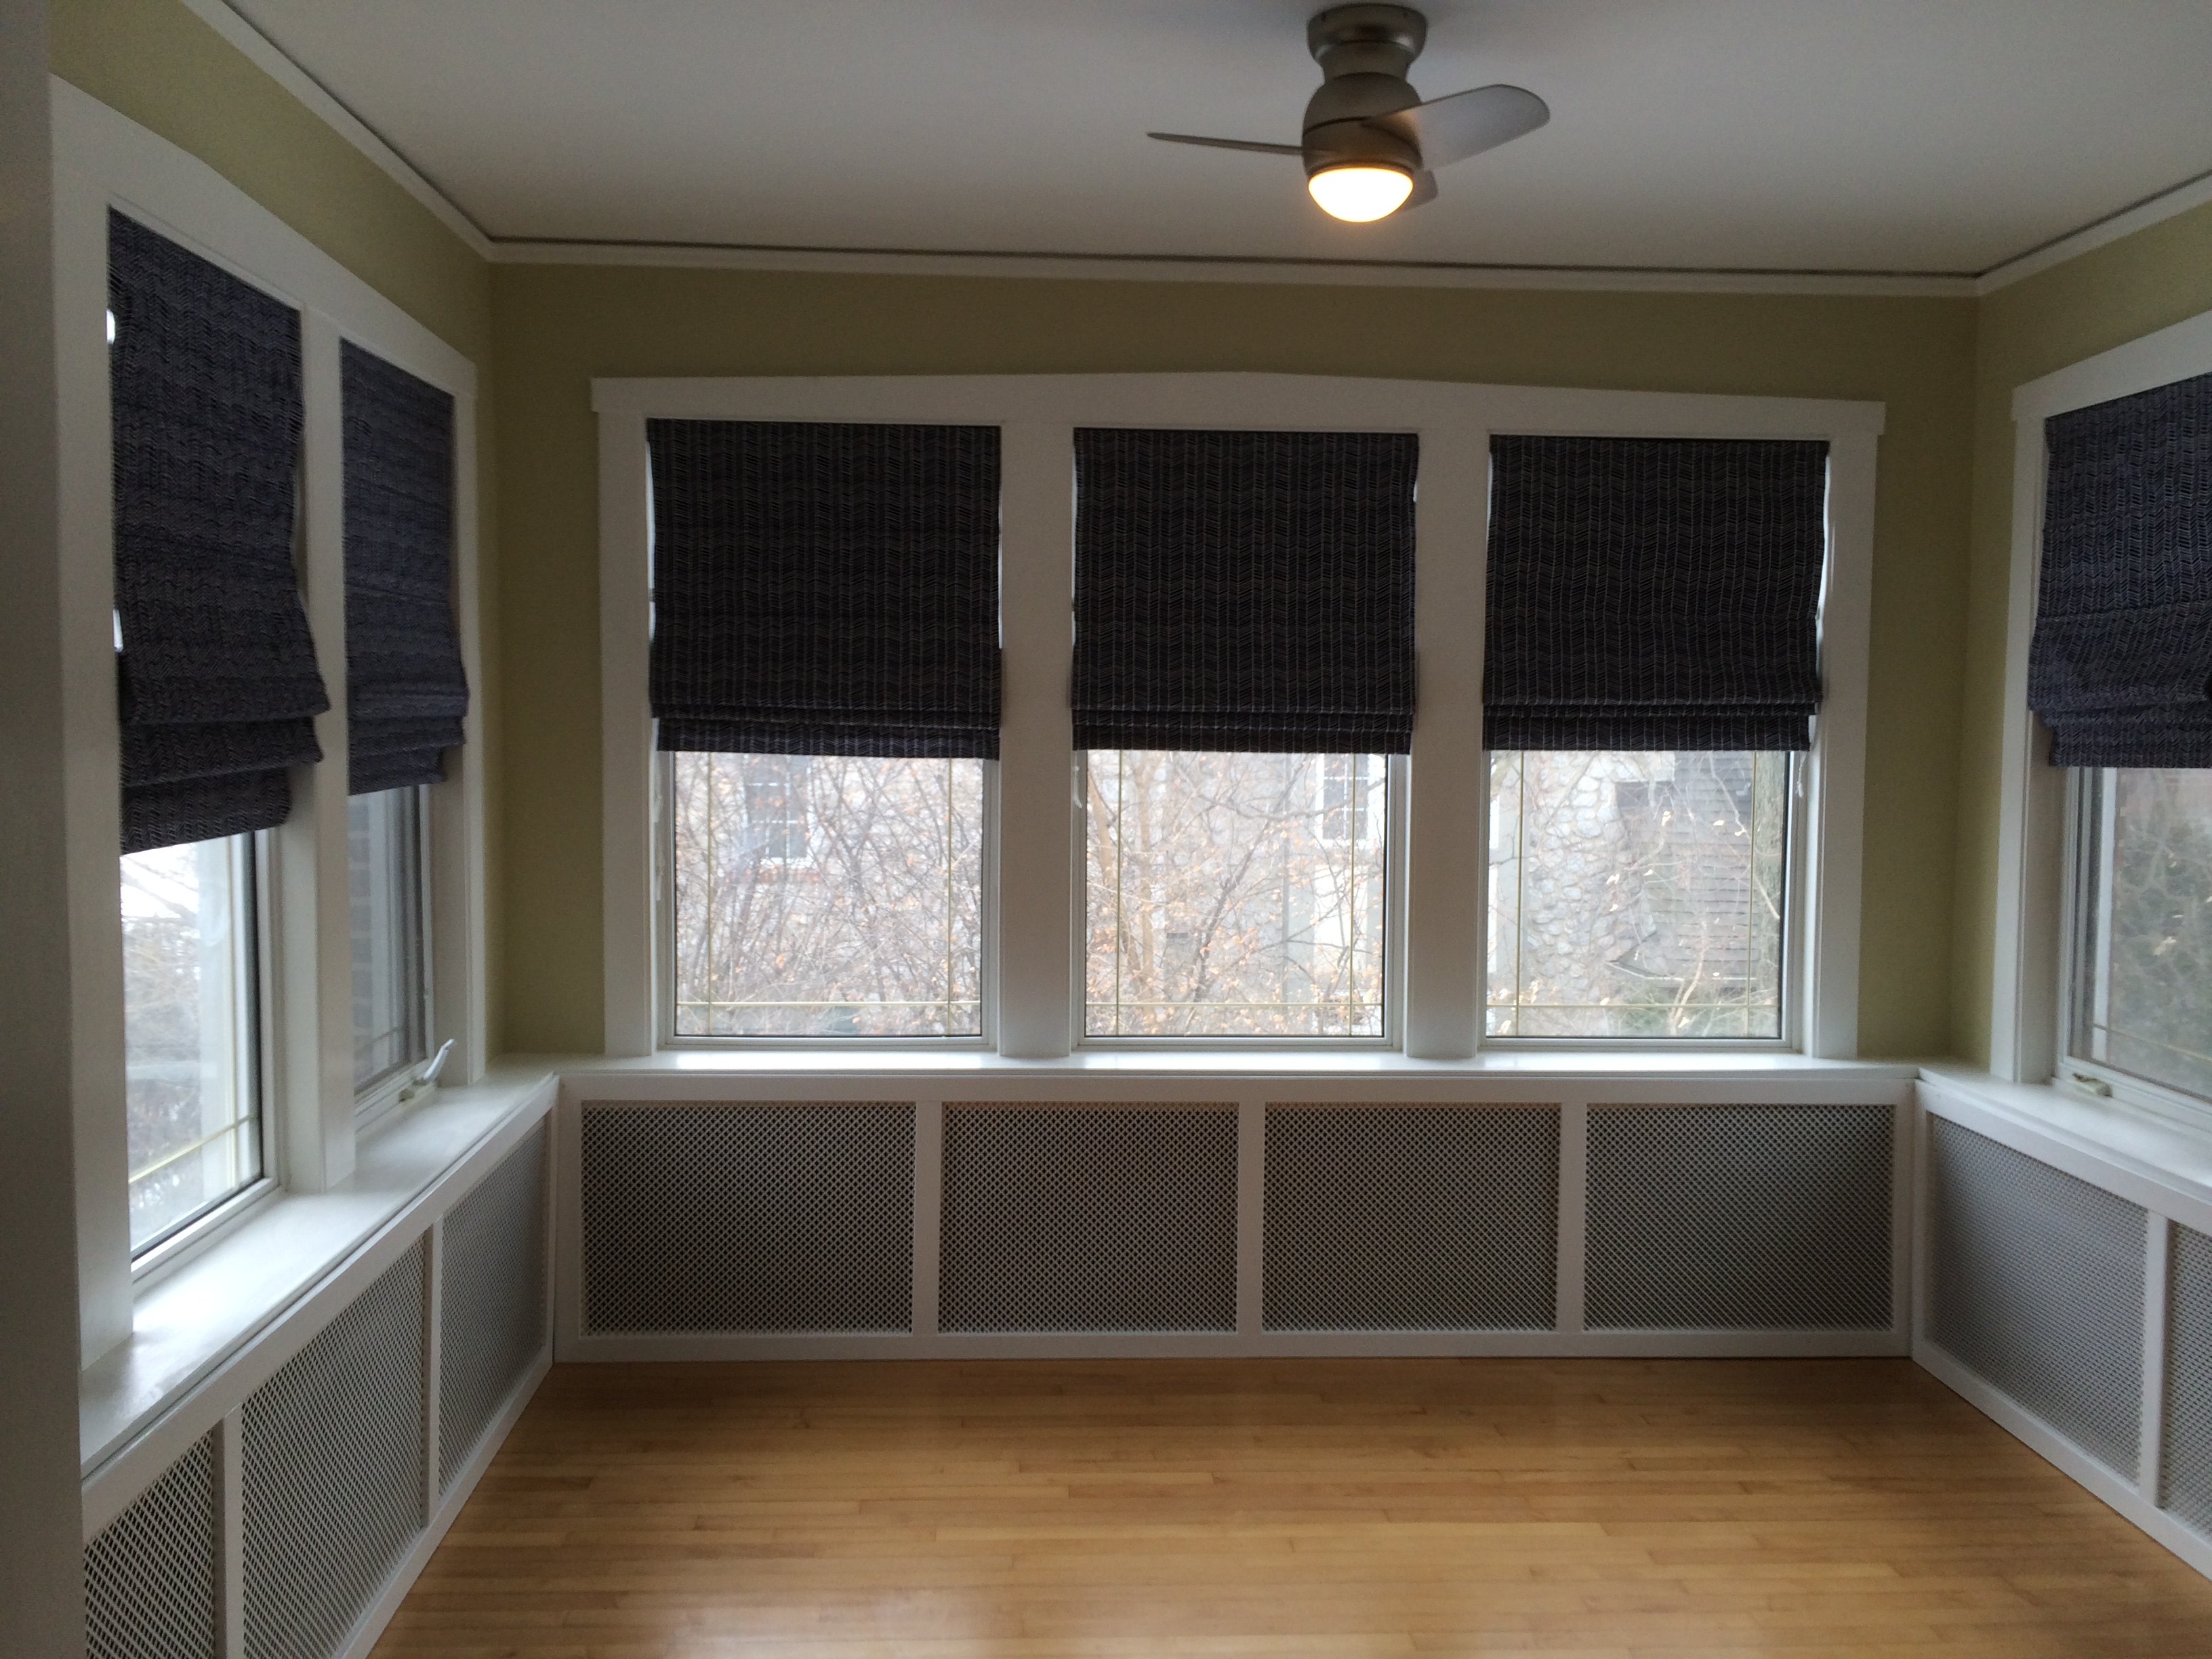
Here is the view into the room after the wall and trim are both painted. (This process included night after night of painting the trim white, followed by night after night of painting the walls. We listened to a lot of NPR podcasts. We’ve never been more informed.)

After that was done, Andy focused on building the radiator covers. We bought metal sheeting from Home Depot (we chose this cloverleaf pattern) and painted it the same white as the trim. Here are the sheets hanging to dry in the basement:

He also had to build support frames for the covers, which had to be removable so that we could access the radiators for maintenance. The solution was this design below. The back wall shows a completed frame; the right wall shows a frame in progress.

Each frame is screwed into a wooden block (there are three separate segments, one for each wall). The frames can be easily popped off to access the radiators when necessary, but are screwed into the place the rest of the time.

Here are the completed radiator covers, wall paint and white trim below. (With the tools of the trade scattered around for authenticity.)


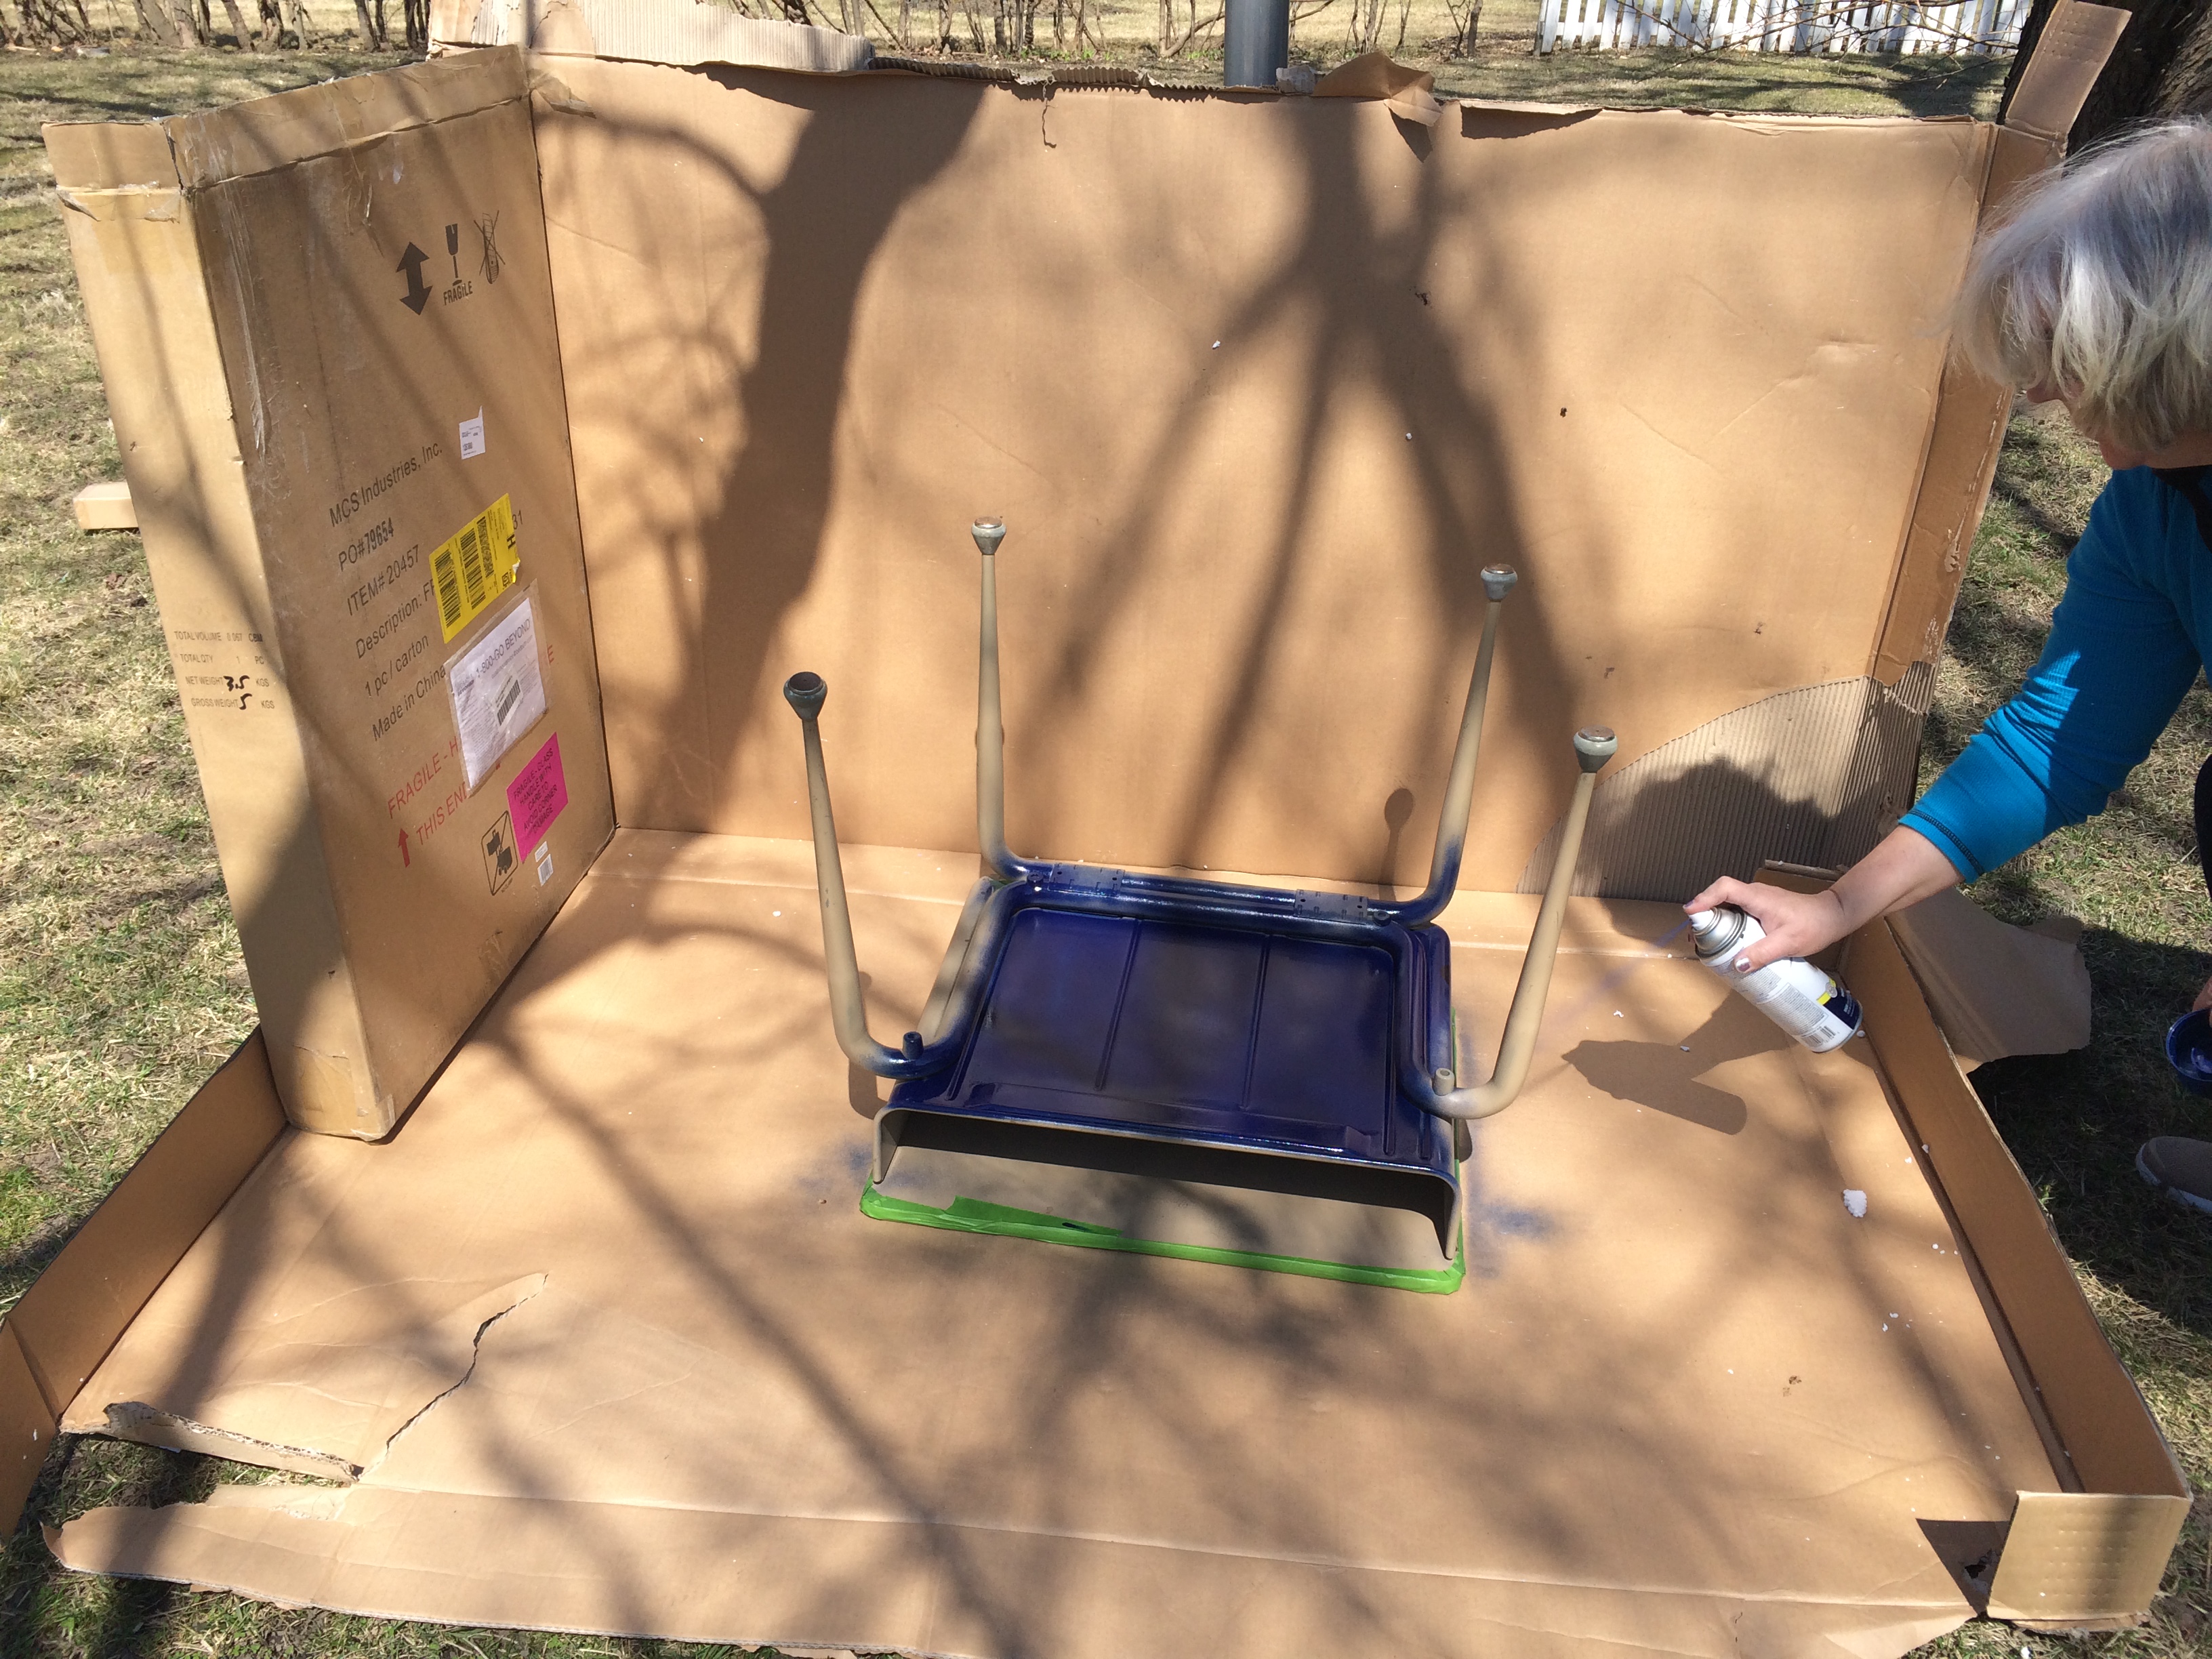
 I found this vintage school desk for my 5-year-old son’s room on local Etsy.com. It was in very good condition, but in need of some sprucing.


 Next step? Fixing the wiring, then painting, painting and more painting. Stay tuned.